
How It Works
Step 1. Research!
Before signing up, make sure your apartment or rental allows for a washer and dryer. Check that your space has the right hookups — and if the exhaust vent has been sealed, note that you may need to provide parts to vent out a window. If you need stackable units, let us know when you place your order — we’ll try to accommodate that without additional cost, though it may affect your installation date.
Step 2. Choose a Plan
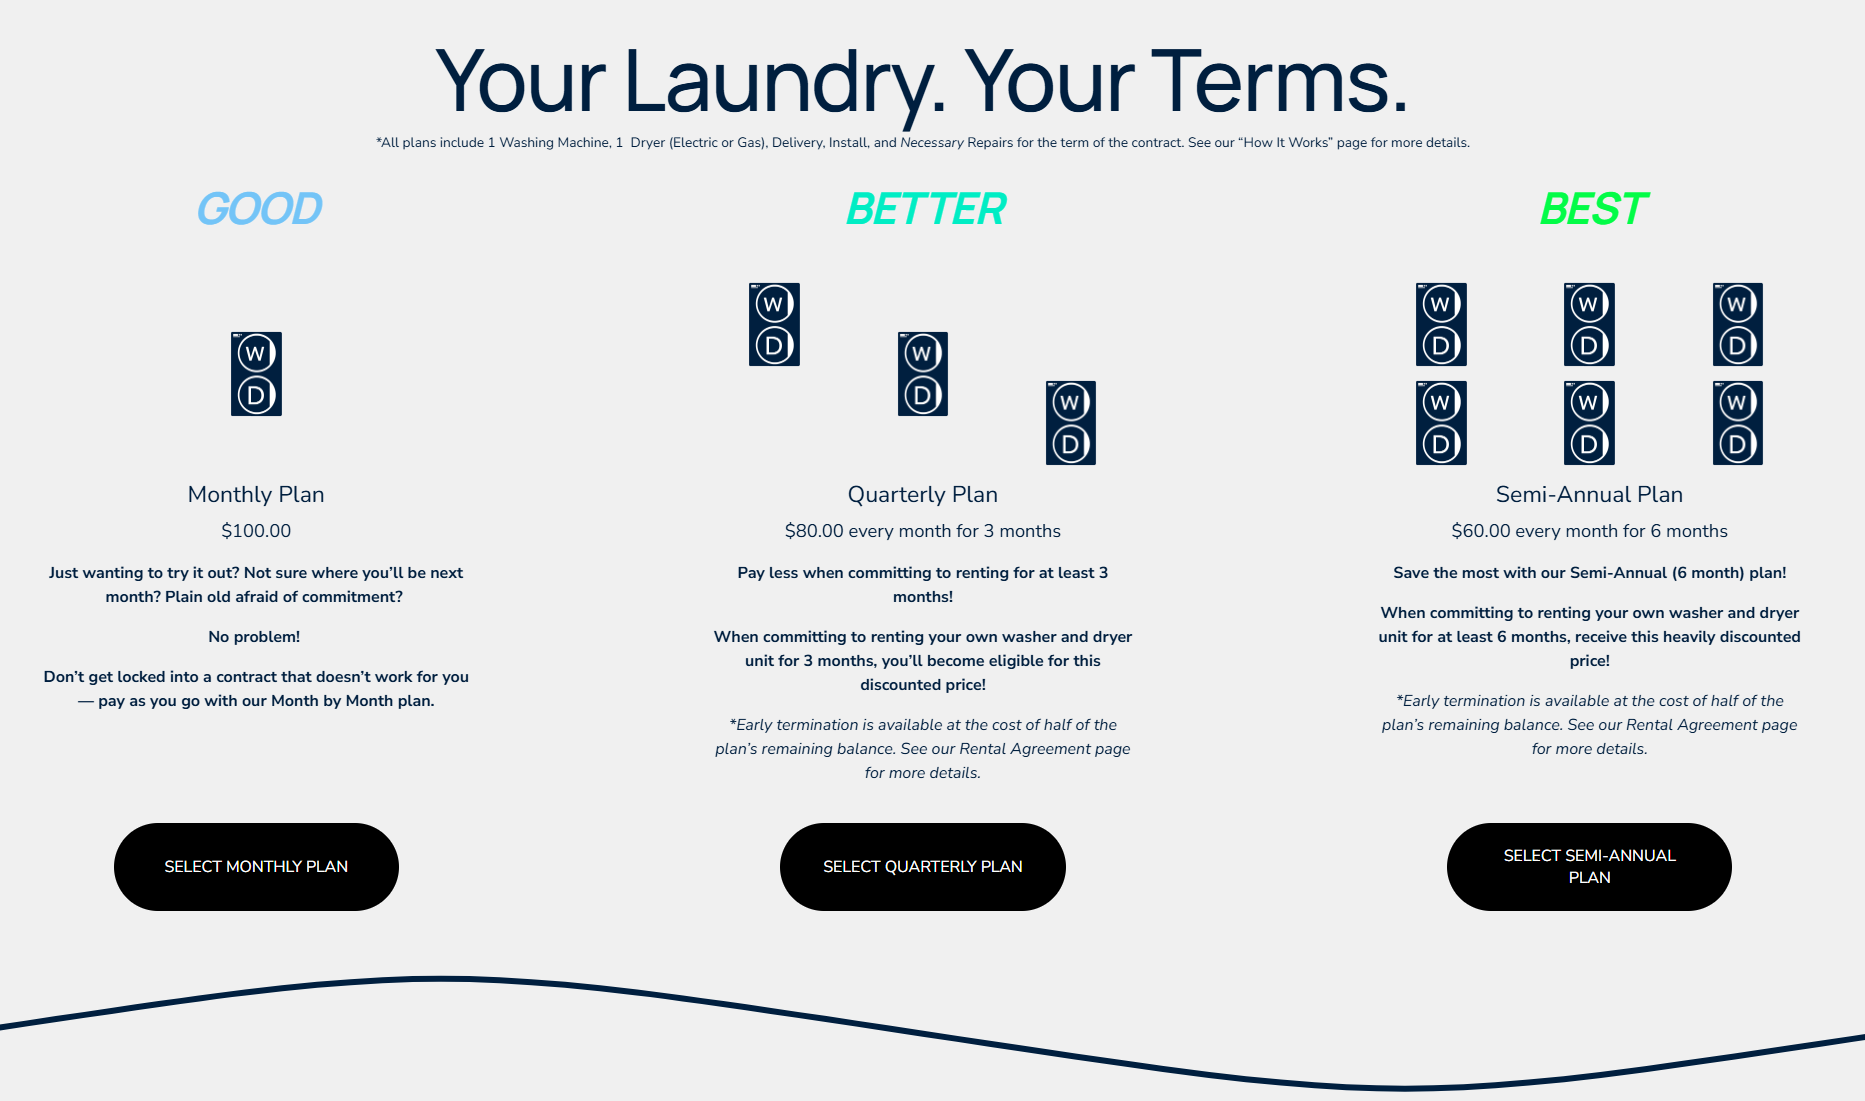
Choose one of our three available plans:
A. Monthly
B. Quarterly
C. Semi-Annual
Note: Your first payment (due at checkout) covers the first month. Autopay is only set up after installation — and we’ll guide you through that during setup.
Step 3. Pick an Install Date
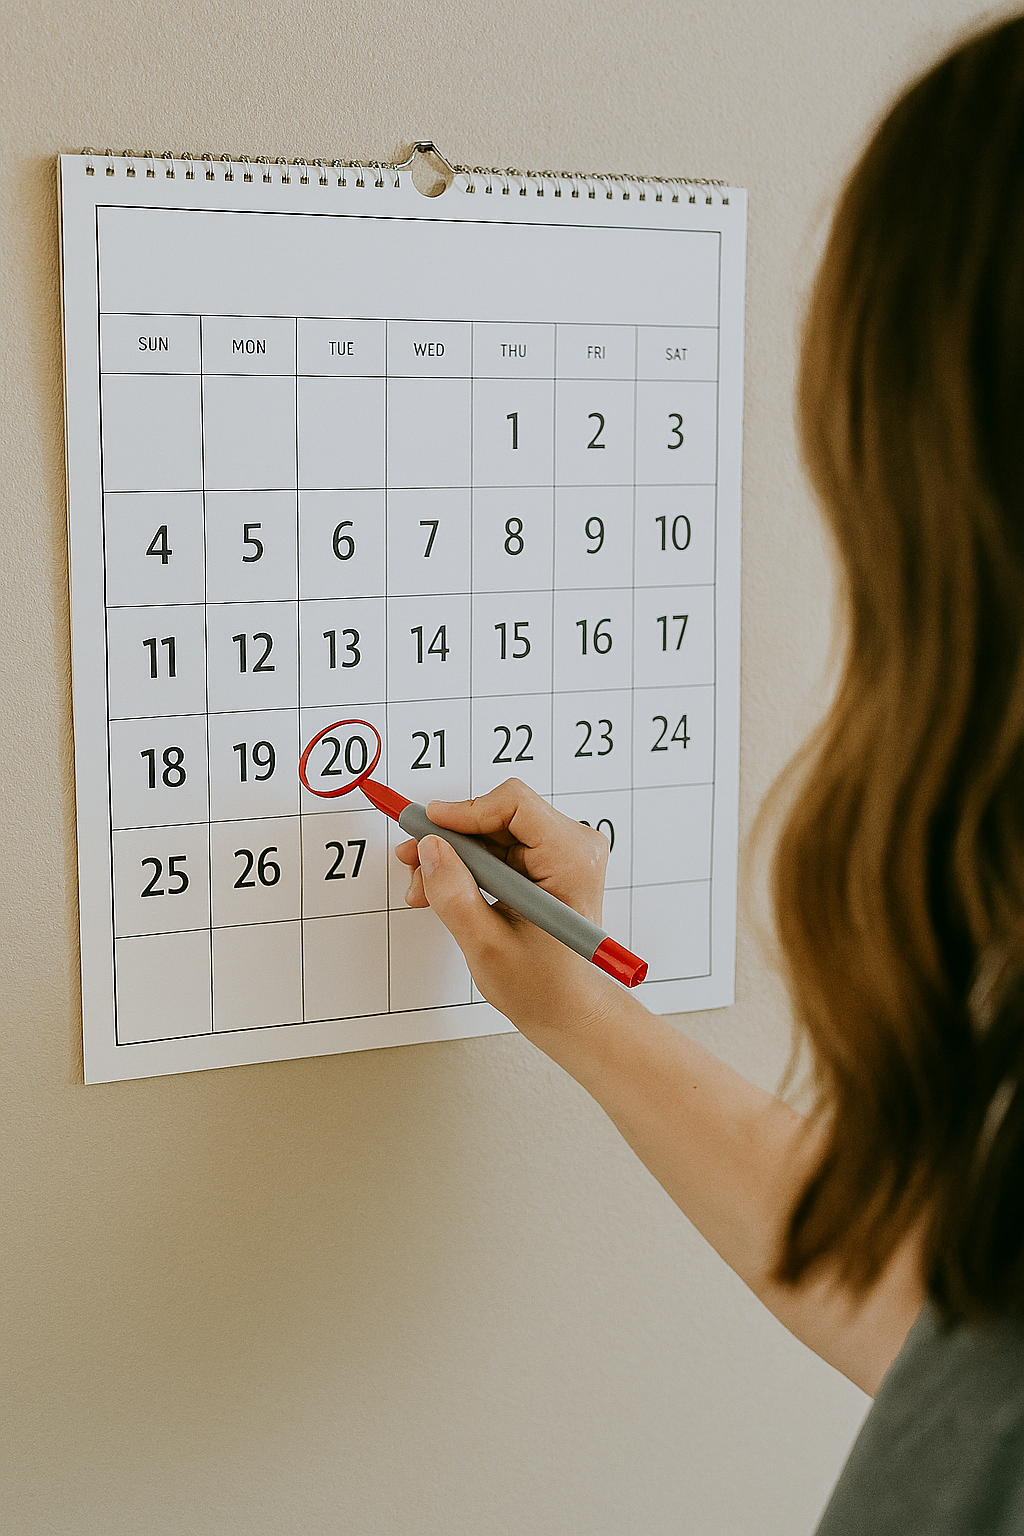
We schedule installation appointments in 2-hour blocks, and our technician will always arrive at the very beginning of your scheduled window. The full two hours are reserved for the installation itself — giving us enough time to set up your machines properly, walk you through everything, and ensure the job is done right.
Weekdays (Mon–Fri): 4–8 PM
These late-afternoon and evening installation windows are designed for customers who work during the day and can only be home later. You pick a 2-hour slot within this range, and our technician will show up at the start of that chosen window.
Weekends (Sat–Sun): 6 AM–8 PM
We offer a wide range of weekend availability so you can schedule an installation at a time that works best for your routine — whether that’s first thing in the morning or later in the day. As always, we’ll arrive at the start of your selected 2-hour window.
Step 4. Be Prepared
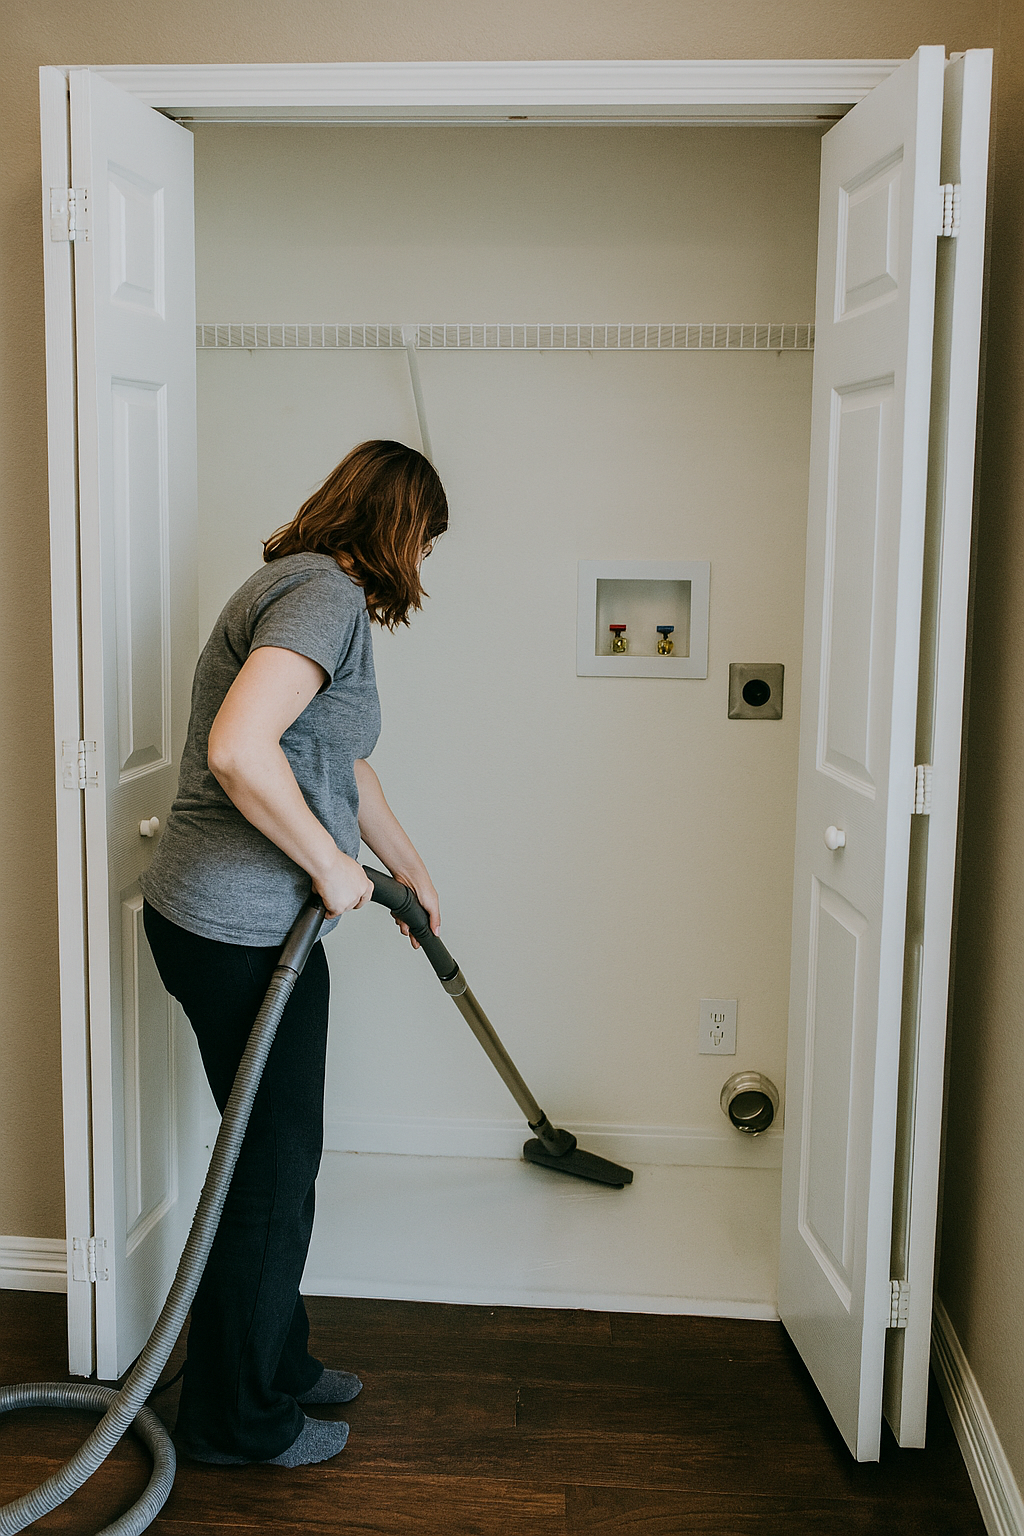
Clear clutter in the install area so our technician can easily access the hookups.
Make sure pets are safely separated for both their safety and the technician’s.
We’ll contact you ahead of time when we’re on our way.
If something comes up and you can’t make the appointment, just let us know — we’ll work out a new time that works for you.
Step 5. Enjoy the Show
A technician from our team of professional installers will arrive and introduce themselves.
They will scan the install area to ensure the appropriate hookups are available for the appliances as well as spacing.
Once ensuring the path to the install site is clear, they will haul in the appliances and perform the install.
Simply relax and await the technician to inform you upon completion.
Step 6. Wrap Up
After the installation is complete, our technician will perform a comprehensive system check to ensure everything is operating correctly. This includes running a test cycle, verifying proper water flow and drainage, checking dryer venting, and confirming that all connections are secure. Once the inspection is finished, we’ll walk you through what was tested and provide useful guidance on keeping your machines running reliably throughout your rental period.
You’ll then be asked to sign off confirming that the installation meets your expectations. After that, we’ll review your rental details, explain your warranty coverage, and assist you with setting up autopay so your monthly payments are handled smoothly moving forward (autopay is required). We’ll also make sure you know exactly how to reach us should you ever need support.